10 DIY Room Decor Ideas That Look Expensive and Cost Almost Nothing
Beginner-friendly projects that bring genuine style, texture, and personality to any room using materials that cost next to nothing and skills anyone already has
There is a particular kind of satisfaction that comes from looking around a room you have decorated yourself and realizing that it looks considerably better than the sum of what you spent on it. That satisfaction is not accidental. It is the result of understanding which elements of a room carry the most visual weight and directing creative energy toward those elements rather than toward objects whose primary job is to fill empty surfaces. The most expensive-looking rooms are rarely the most expensively furnished. They are the most intentionally composed, and composition is something that can be learned, practiced, and executed with materials that cost almost nothing at all.
The ten projects in this article were chosen because they each address a significant visual element of a room, a wall, a surface, a light source, a textile, or a focal point, and transform it using materials available at craft stores, discount retailers, thrift shops, or in most cases already present in the home. None of them require specialist tools, prior craft experience, or more than a few hours of uninterrupted time to complete. What they do require is a willingness to try, a tolerance for the minor imperfections that give handmade objects their character, and the understanding that the most beautiful rooms are not bought but built, one deliberate and personal decision at a time.
Idea 01Wall Decor
Make a Linen-Wrapped Canvas Gallery Wall Using Thrifted Frames
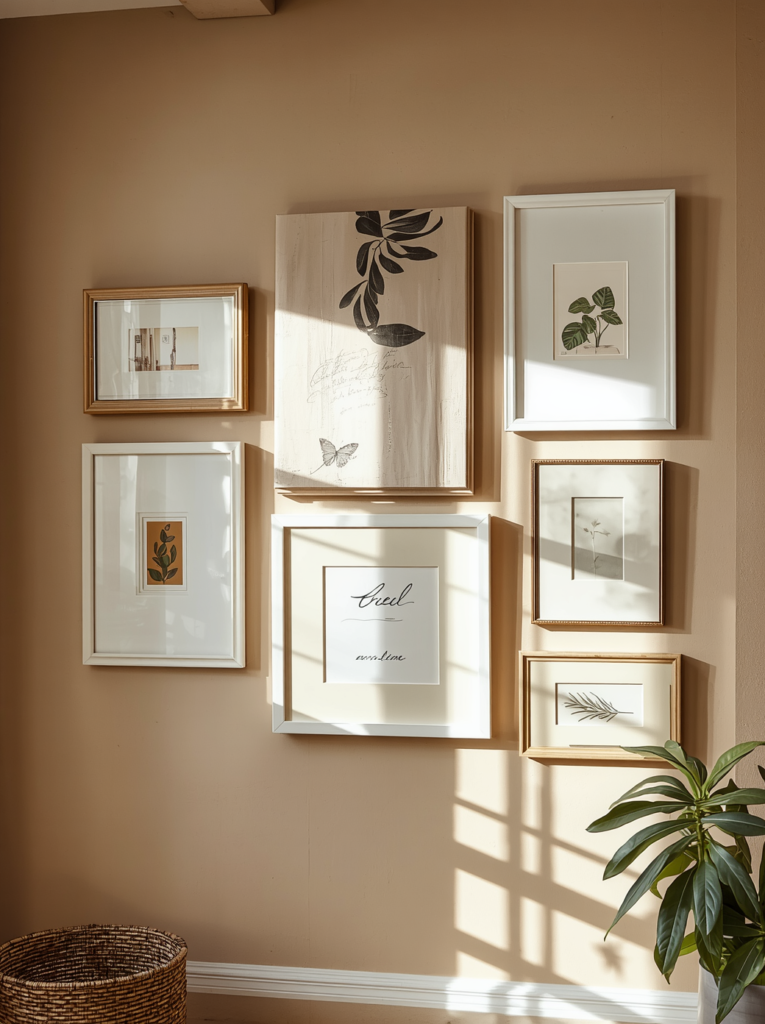
Linen-wrapped canvases have the texture, weight, and quiet elegance of objects that cost considerably more than they do to make. The process is straightforward: cut a piece of linen or natural canvas fabric several inches larger than a picture frame backing board, stretch it tightly across the board, and staple it to the back at regular intervals, pulling the corners snug and flat. The result is a textured panel that sits inside the frame and reads from across the room as an expensive art piece rather than a craft project, especially when the frames themselves are unified in finish through spray painting.
Thrifted frames in mismatched sizes, painted in a single uniform color, white, black, or warm gold, create a cohesive gallery wall that looks curated without looking purchased as a set. The linen panels can be left entirely plain for a minimal, architectural effect, or pressed botanical specimens, dried flowers, or torn fragments of printed paper can be layered onto the linen surface before framing to add visual interest. Grouping five to seven of these frames on one wall in an asymmetric arrangement produces a focal point that carries the visual authority of a much more expensive art collection and takes a single afternoon to complete.
Idea 02Lighting
Craft a Paper or Fabric Pendant Lamp Shade From Scratch
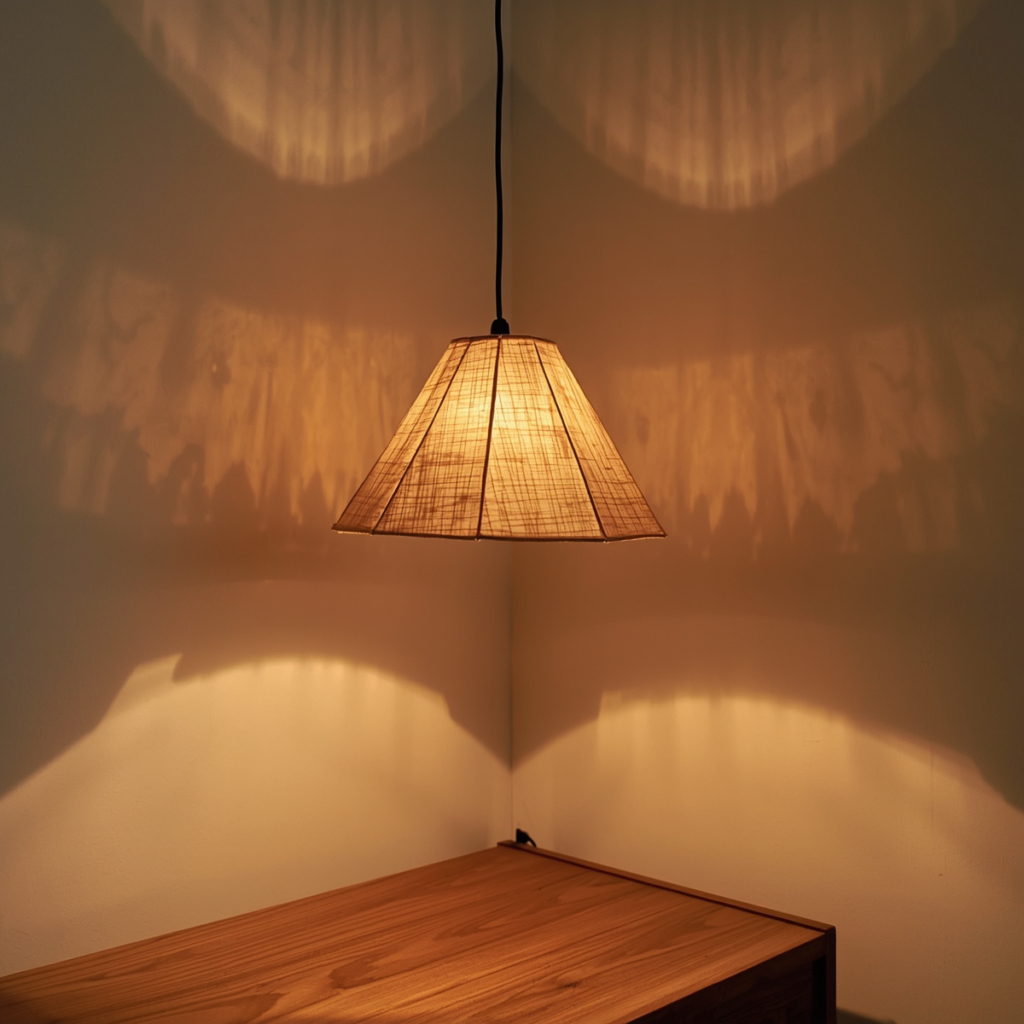
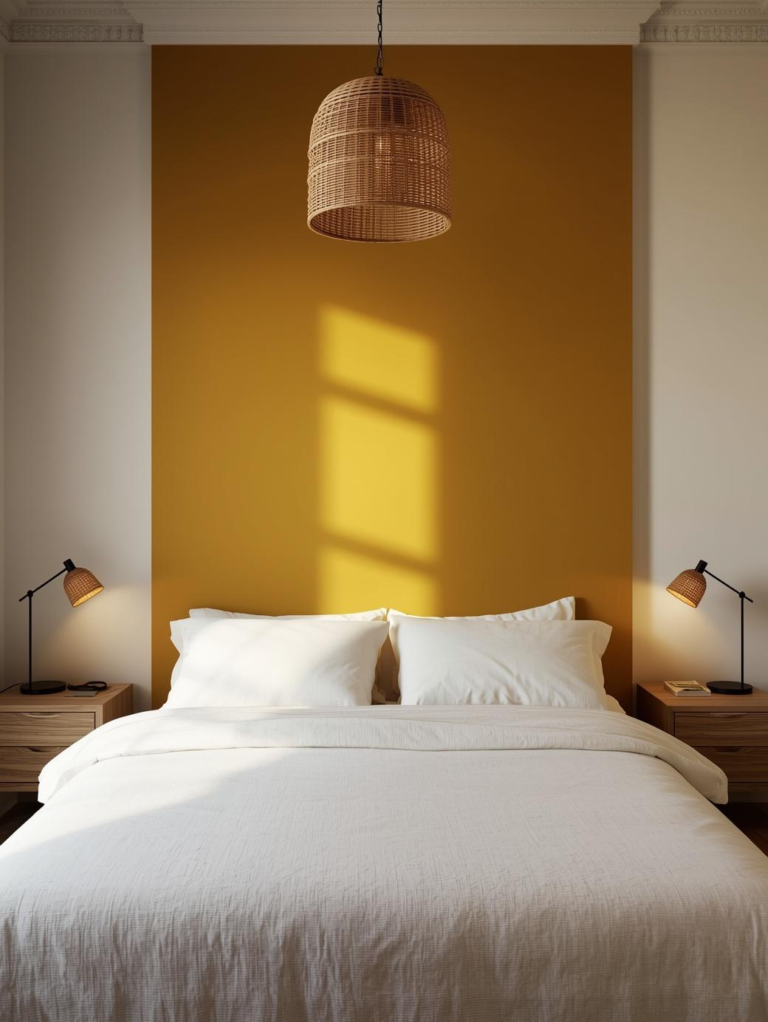
A handmade lamp shade transforms the quality of light in a room and the aesthetic character of the space around it in a way that very few other DIY projects can match. A simple pendant shade constructed from thick watercolor paper or heavy linen fabric stretched over a basic wire ring frame introduces warm, diffused, directional light that makes the room feel deliberately designed rather than generically lit. The process of building a paper shade requires nothing more than a wire ring, heavy paper cut into panels, and a strong craft glue to join the panels into a geometric or cylindrical form around the ring.
Pendant cord kits with integrated bulb sockets are available at hardware stores for under fifteen dollars and provide the electrical component without requiring any wiring knowledge beyond screwing in a bulb. The shade hangs from the cord above a desk, bedside table, or in a reading corner and casts warm patterned shadows across the surrounding walls that shift with the time of day and the quality of ambient light in the room. The handmade quality of the shade, visible in the slight irregularities of the paper panels and the texture of the joins, contributes to rather than detracts from its appeal, giving it the kind of artisanal character that mass-produced lamp shades cannot replicate regardless of their price point.
Idea 03Textile
Sew or No-Sew a Linen Duvet Cover Using Flat Sheets
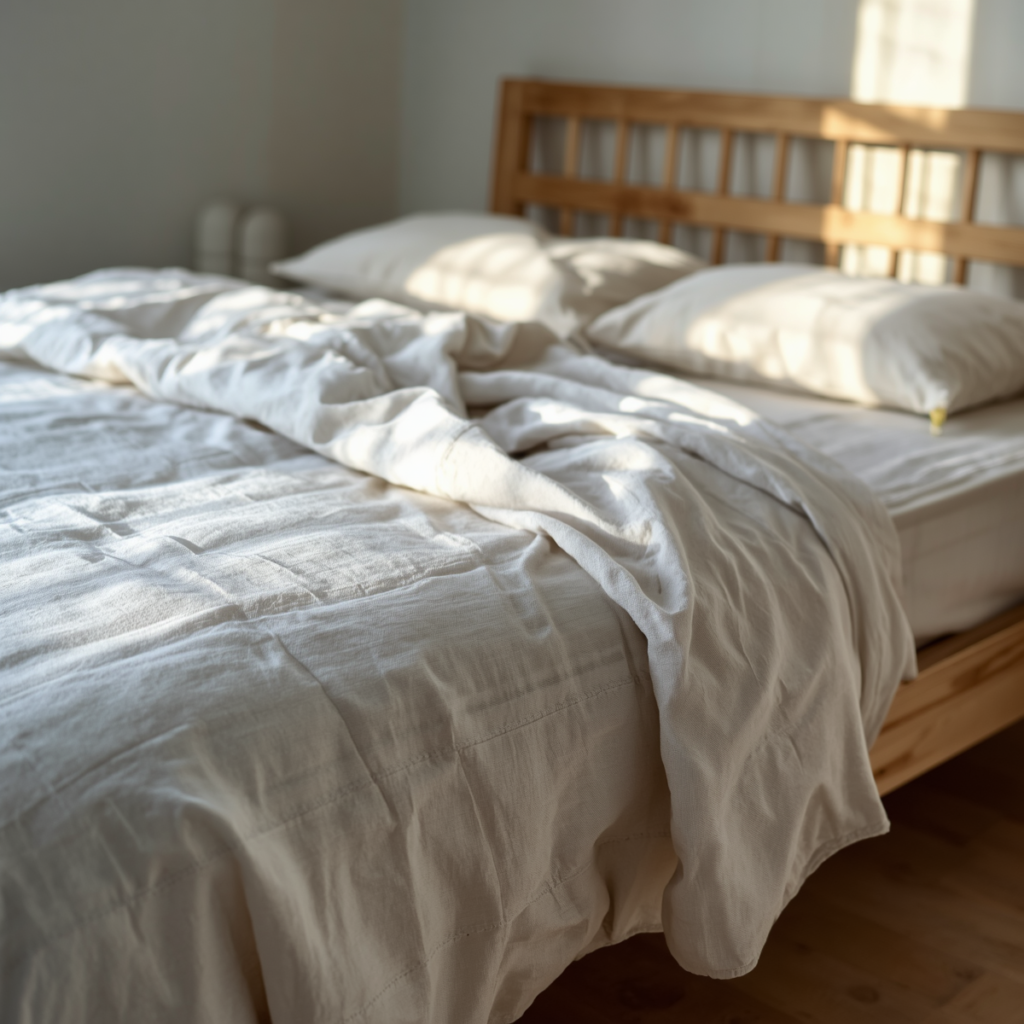
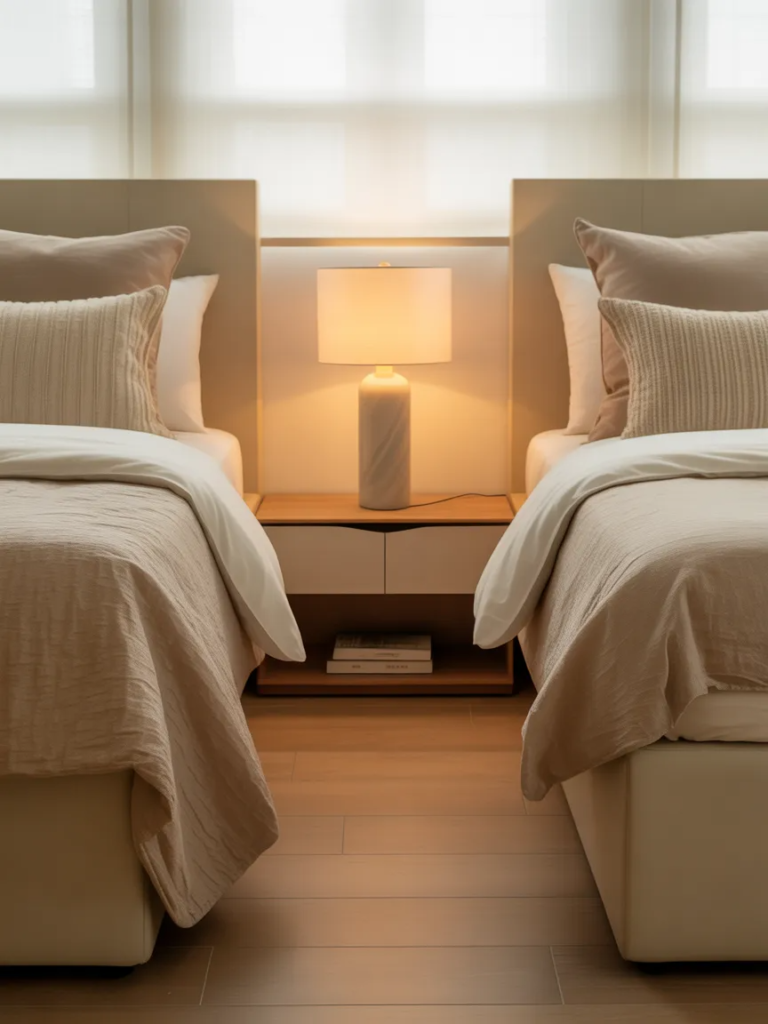
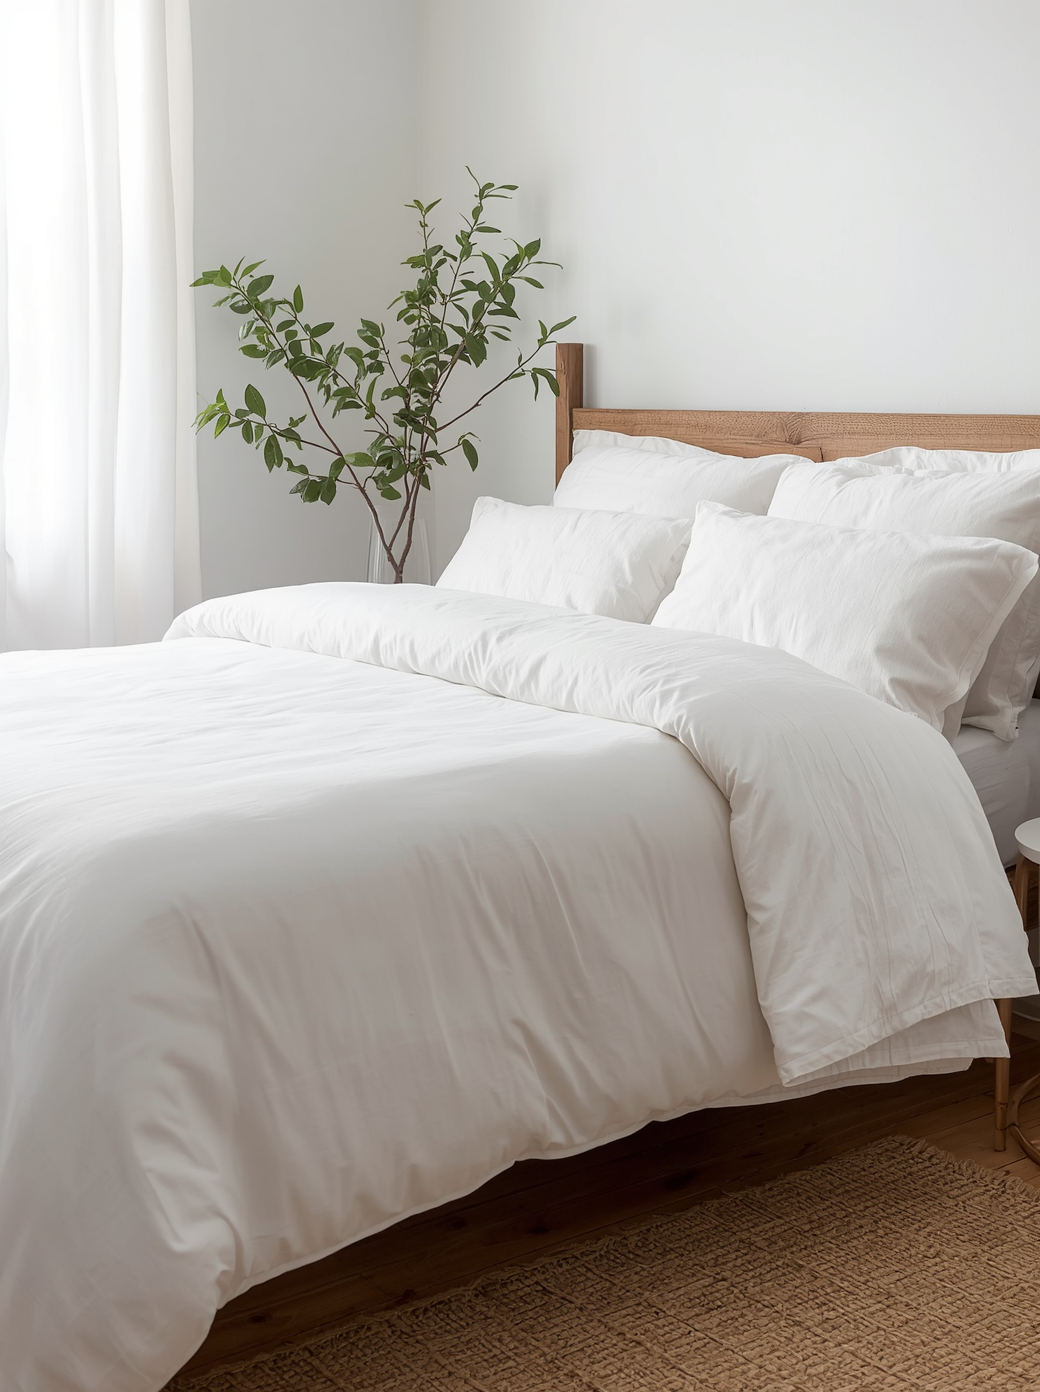
A linen duvet cover in a good neutral tone is one of the most reliable ways to make a bedroom look immediately more expensive and seasonally alive, and it is also one of the most straightforwardly achievable textile DIY projects available to anyone with basic sewing ability or access to fabric glue. Two flat linen sheets in the same or complementary tones, sewn together along three sides and finished with button tape or snap tape along the open fourth side, produce a duvet cover that is functionally identical to a purchased one and considerably more satisfying to sleep under because it was made by hand.
The no-sew version of this project uses iron-on hem tape along the seams instead of stitching, making it accessible to anyone without a sewing machine and achievable in an afternoon with a regular clothes iron. Linen flat sheets are available at discount linen retailers and online marketplaces at prices that typically undercut branded linen duvet covers by fifty percent or more, making the material cost of this project genuinely modest. The natural wrinkle of linen after washing, which requires no pressing and improves with each subsequent wash, gives the finished duvet cover the kind of effortless, relaxed texture that is currently among the most photographed and saved bedroom aesthetics on Pinterest.
Idea 04Wall Art
Create an Oversized Abstract Canvas With Leftover House Paint
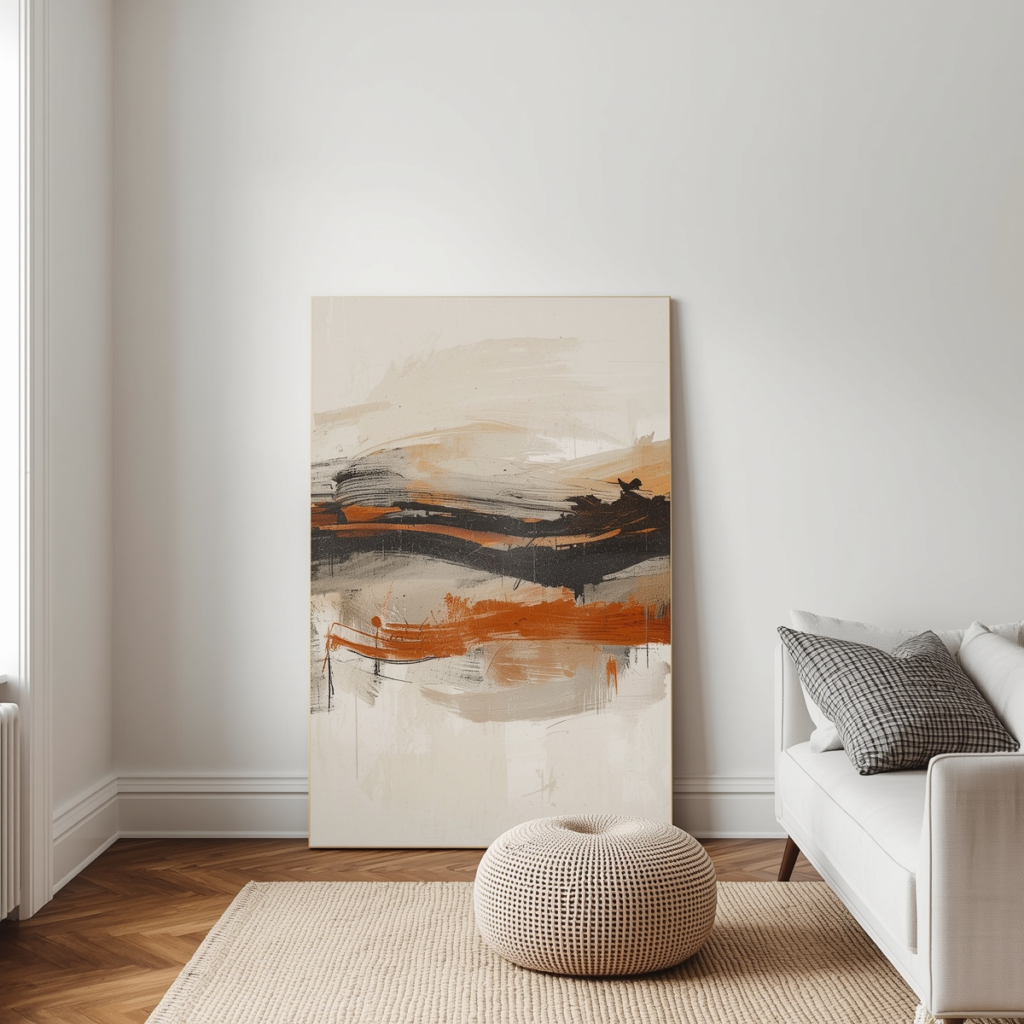
Large-scale abstract art is one of the most powerful ways to transform an empty wall into a genuine focal point, and it is also one of the most freely interpretable forms of visual expression available to a beginner. A canvas made from a painter’s drop cloth, stretched over a simple wooden frame constructed from cheap lumber or attached to a wooden dowel at the top edge for hanging, provides an enormous painting surface for almost no material cost. Leftover house paint in two or three tones from previous decorating projects, applied with a wide brush, a palette knife, a sponge, or even a piece of cardboard, produces abstract compositions that read as intentional and considered from across the room.
The key principle in abstract painting for someone without a fine art background is to commit to the marks rather than second-guess them. Large, confident brushstrokes in warm neutrals such as cream, terracotta, warm gray, and soft black produce canvases that integrate beautifully into almost any interior palette. Working wet-into-wet, meaning applying a second color before the first has fully dried, creates the blended, atmospheric quality that characterizes the most popular contemporary abstract art style. Leaning the finished canvas against the wall rather than hanging it flat adds a casual, collected quality that suits the current editorial interior aesthetic perfectly and requires no measuring or hardware.
Idea 05Plant Decor
Build a Tiered Plant Stand From Wooden Dowels and Rope
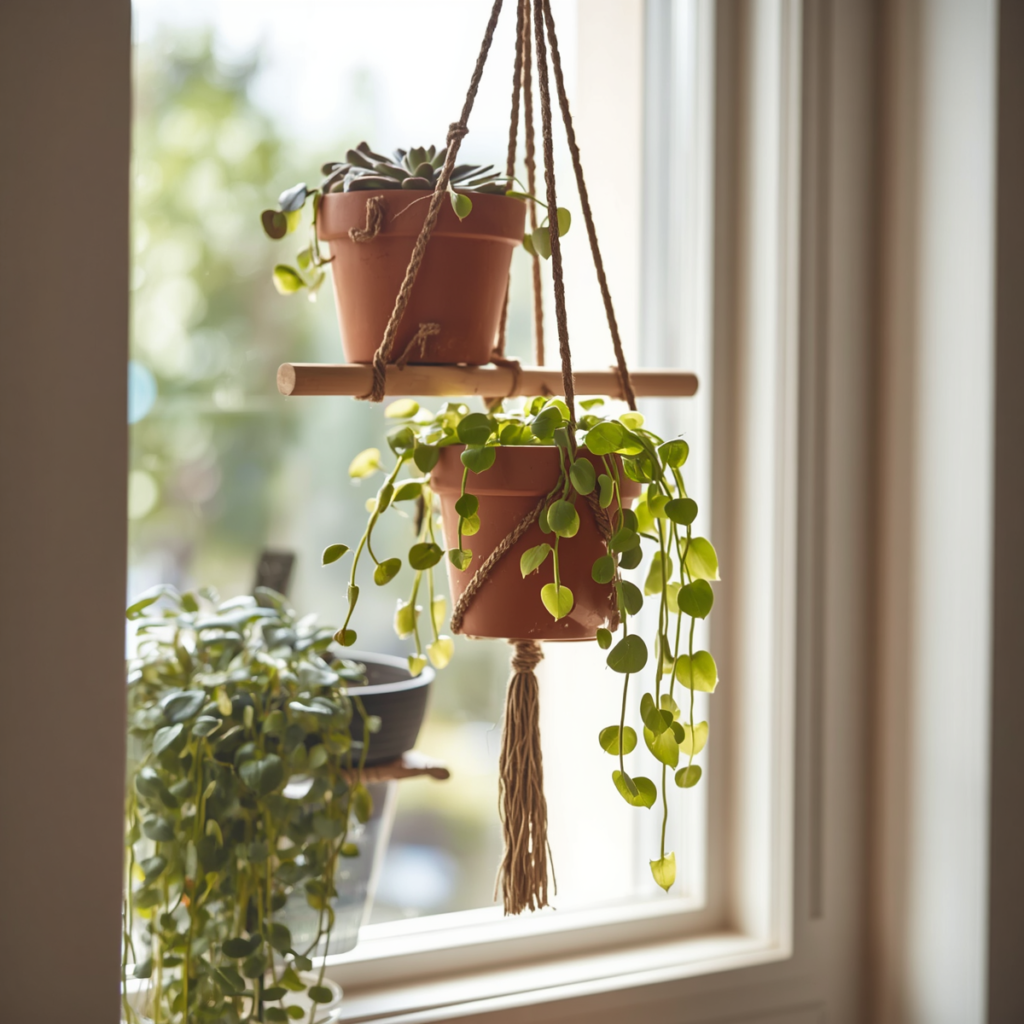
A hanging tiered plant stand made from wooden dowels and natural rope is one of the most visually impressive DIY room decor projects relative to the simplicity of its construction. Three wooden dowels of equal length, drilled at each end, are threaded onto four lengths of natural jute or cotton rope at evenly spaced intervals and knotted securely to hold each dowel horizontal. The resulting ladder-like structure hangs from a ceiling hook and provides three distinct shelves at different heights, each capable of holding a small plant pot, a candle, or a collection of small objects.
The organic combination of raw wood and natural rope integrates beautifully into almost any interior aesthetic from boho to Scandinavian to contemporary coastal, and the plant-laden version of the piece introduces living greenery into the vertical plane of the room in a way that ground-level plant placement cannot achieve. Trailing plants including pothos, string of pearls, and heartleaf philodendron are particularly well suited to this display format because their trailing stems cascade down through the levels of the structure, connecting the tiers visually and creating the impression of a living curtain of greenery that costs a fraction of what a comparable purchased plant display unit would require.
Idea 06Surface Styling
Decoupage a Plain Tray or Side Table With Vintage Book Pages
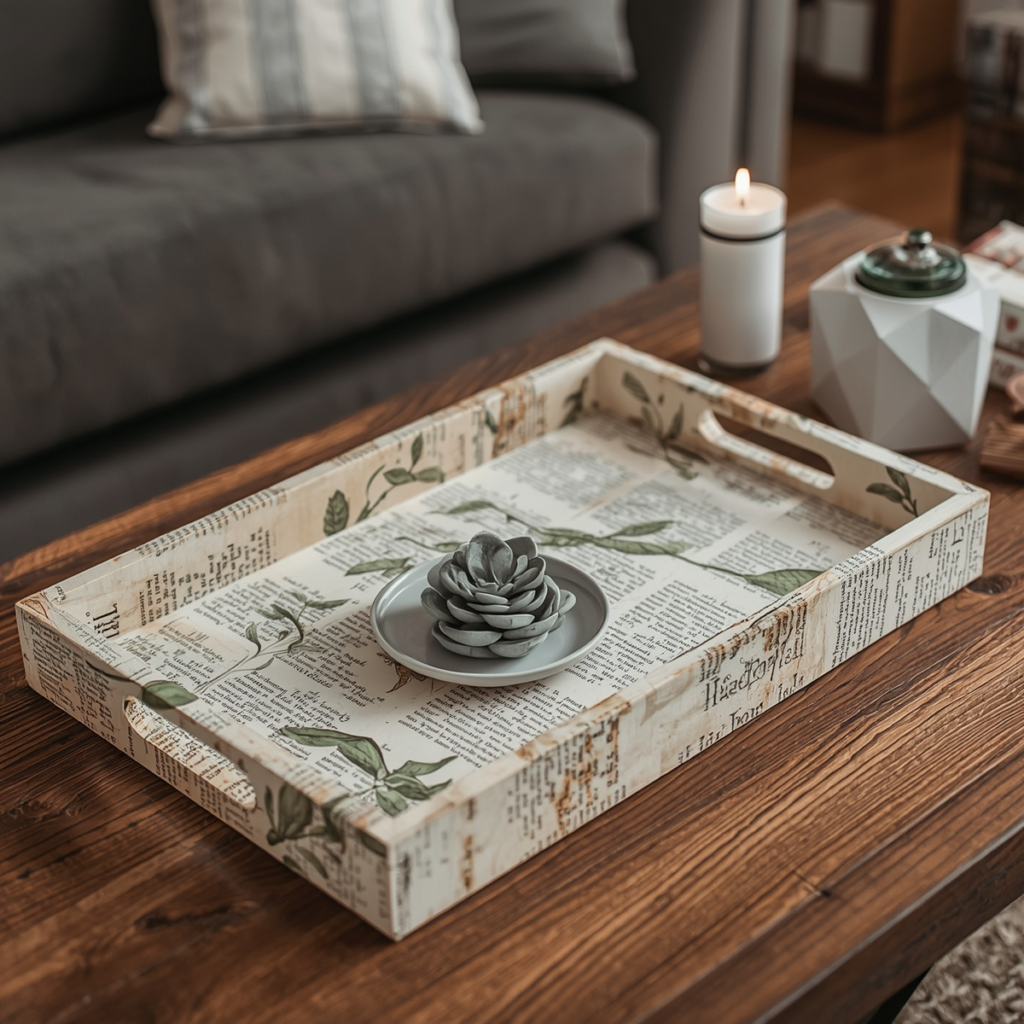
Decoupage is one of the oldest and most reliably beautiful craft techniques available, and when applied to a plain wooden tray or an inexpensive side table it produces a surface that looks genuinely artisanal and visually interesting rather than mass-produced. Pages from old books, atlases, botanical illustration volumes, or music sheets torn from thrift store finds provide the decoupage material. Applied overlapping onto a painted base surface using diluted PVA glue or Mod Podge and then sealed with a matte topcoat, they create a layered, paper-textured surface that is warm, unique, and entirely one-of-a-kind.
The finished tray or table surface has an aged, collected quality that reads as considerably more expensive than the plain timber object it began as, and it provides a genuinely interesting surface to style objects on rather than a neutral platform that disappears beneath whatever is placed on top of it. Botanical illustration pages are a particularly popular choice for this technique because their combination of scientific detail and natural imagery suits almost every interior aesthetic from traditional to contemporary. The entire project, including the tray if purchased new from a discount store, typically costs under fifteen dollars and takes less than two hours including drying time between coats.
Idea 07Bedroom
Make a Fabric Headboard Using a Wooden Board and Upholstery Foam
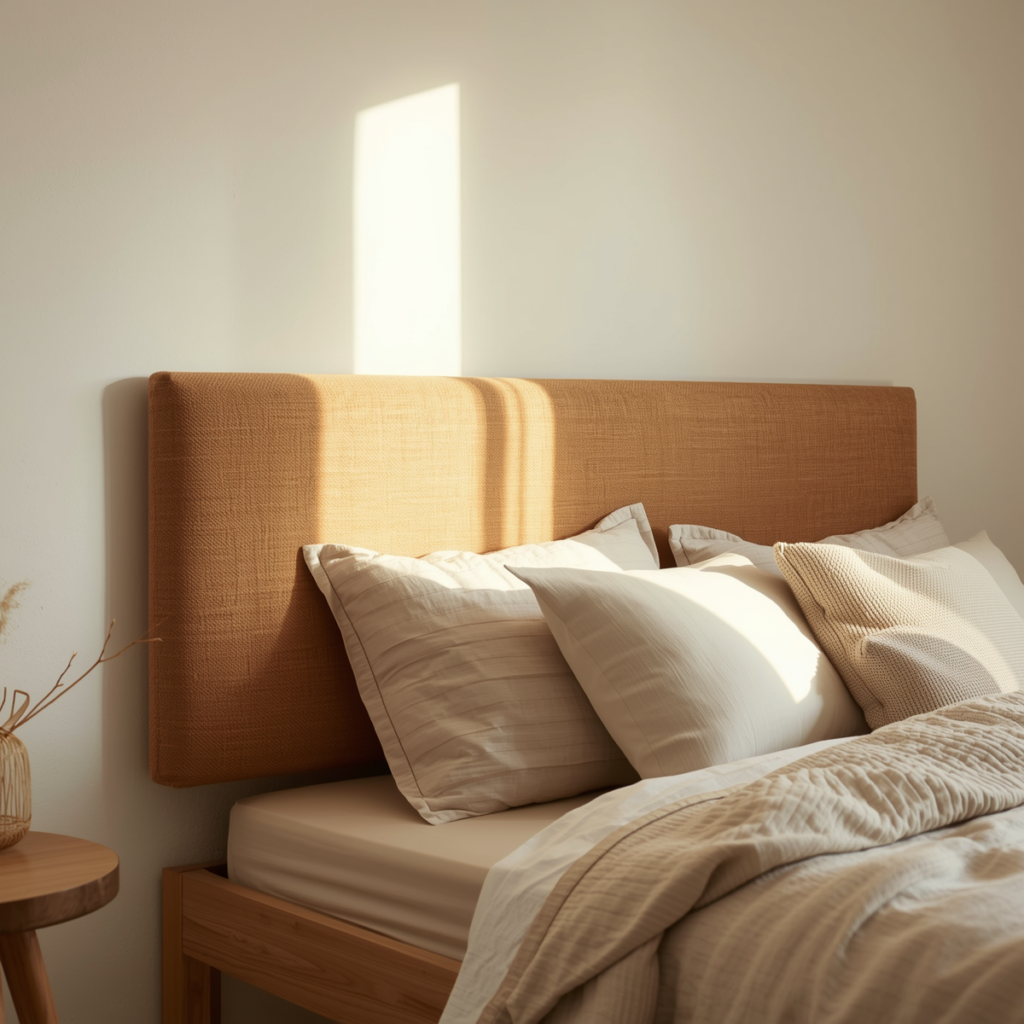
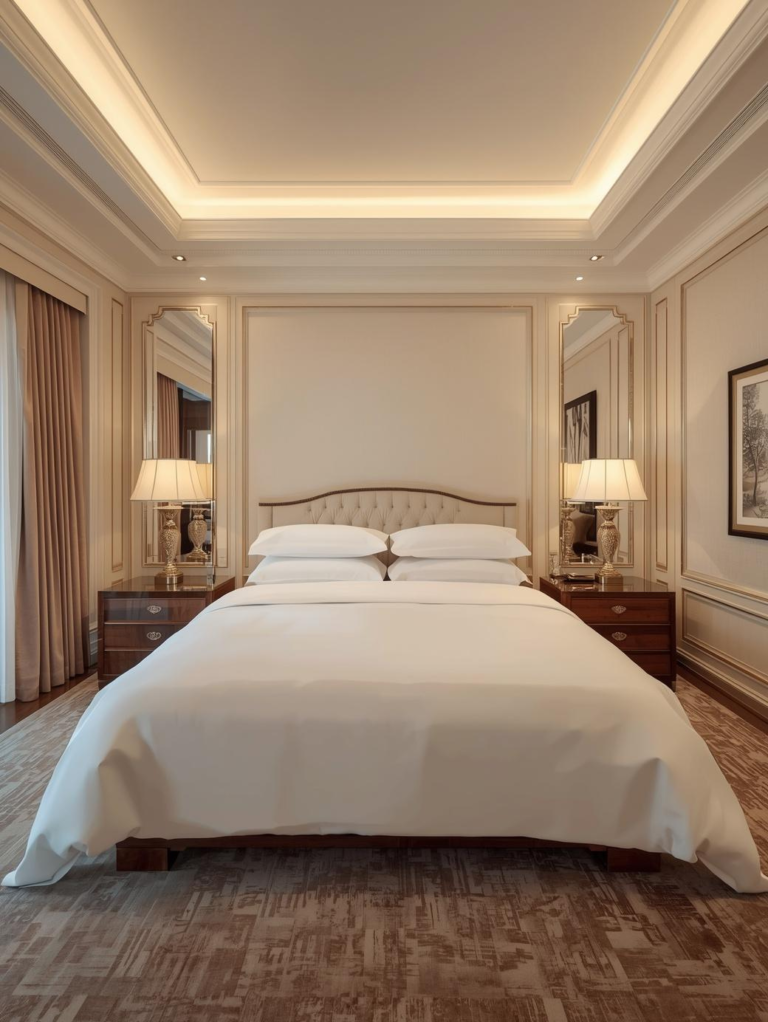
A fabric headboard is the single most transformative DIY addition to a bedroom that lacks a strong focal point, and constructing one requires only four components: a sheet of plywood cut to the desired size, a layer of upholstery foam adhesive-bonded to the front face of the plywood, a length of fabric stretched over both and stapled firmly to the back of the board, and a pair of wall-mounting brackets to secure the finished piece to the wall behind the bed. The result is an upholstered headboard that is structurally and visually indistinguishable from a purchased equivalent costing several hundred dollars.
Fabric choice is where this project allows the most creative expression. Bouclé, linen, velvet, and heavy cotton canvas all produce beautiful headboards with very different aesthetic outcomes. A neutral linen headboard suits minimal and coastal interiors. A deep velvet in forest green or charcoal suits the dark feminine or maximalist aesthetic. A textured bouclé reads as quietly luxurious and suits the quiet luxury trend that continues to dominate bedroom design in 2026. The entire project, including materials, typically costs between thirty and sixty dollars depending on the fabric chosen, which represents a small fraction of the retail price of a comparable upholstered headboard from any furniture retailer.
Idea 08Wall Feature
Create a Limewash Effect on One Wall Using Watered-Down Paint
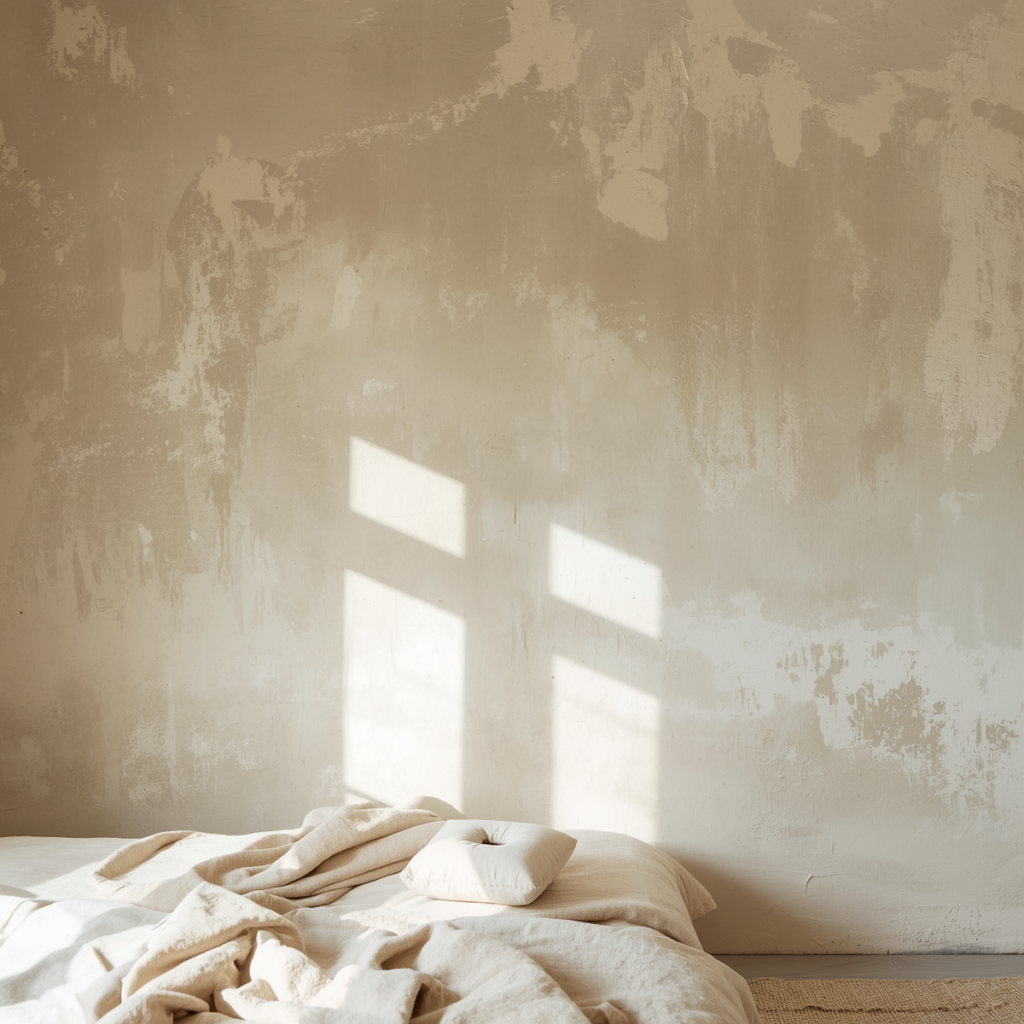
The limewash wall finish is one of the most sought-after interior textures in contemporary design, characterized by its layered, aged-plaster appearance that shifts between warm white, cream, and the color beneath it depending on the thickness of application and the angle of the light falling on it. Achieving this effect professionally costs significantly more than a standard paint job, but a convincing DIY approximation can be made using nothing more than flat white or cream paint diluted with water to a thin, translucent consistency and applied over a base coat in loose, overlapping, slightly irregular strokes with a wide natural bristle brush.
The technique involves applying the diluted paint in broad, confident strokes and then immediately working back into the wet surface with a damp rag or sponge to lift some of the paint and create variation in coverage. The result, once dry and sealed with a matte topcoat, is a wall surface that has the layered, mineral-rich quality of genuine limewash at a fraction of the material cost. Applied to a single accent wall behind the bed or sofa, this finish adds the kind of quiet, handcrafted texture that elevates an entire room without requiring any furniture or accessory changes to take effect. It is one of the most impressive-looking outcomes achievable from the simplest possible materials.
Idea 09Shelf Styling
Build Floating Shelves From Reclaimed Wood and Hairpin Brackets
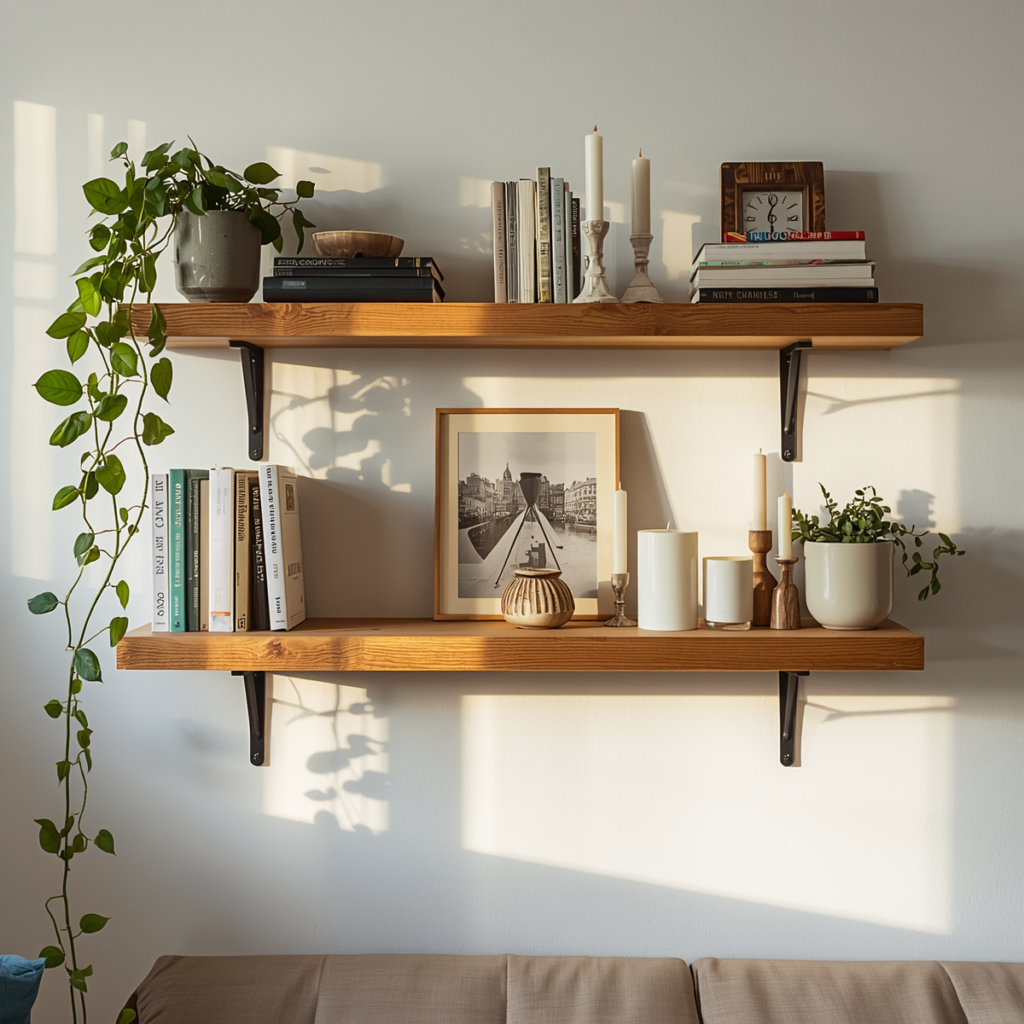
Floating shelves constructed from a reclaimed timber plank and mounted on black hairpin brackets deliver a level of visual impact that purchased flat-pack shelving consistently fails to achieve, because the combination of raw natural wood and minimal black metal hardware reads as a considered design decision rather than a storage solution. Reclaimed timber can be sourced from architectural salvage yards, building material exchange platforms, or even fencing timber from hardware stores that is sanded, finished with a natural oil, and aged to bring out the grain. The natural imperfections of reclaimed wood, knots, grain variation, slight surface irregularities, are its most valuable aesthetic quality.
Hairpin shelf brackets in matte black are available online and at most hardware stores for a few dollars each and the installation requires only a drill, wall anchors appropriate for the wall type, and a level. Two or three shelves at varying heights on a single wall create a display surface that rewards careful styling and provides the kind of flexible, reconfigurable display space that built-in shelving cannot offer. Styled with a combination of books arranged vertically and horizontally, trailing plants, small ceramic objects, and one or two candles, these shelves become one of the most-noticed and most-commented-upon elements in the room, at a total cost that rarely exceeds forty dollars for materials.
Idea 10Finishing Touch
Refresh Old Furniture With Chalk Paint and New Hardware
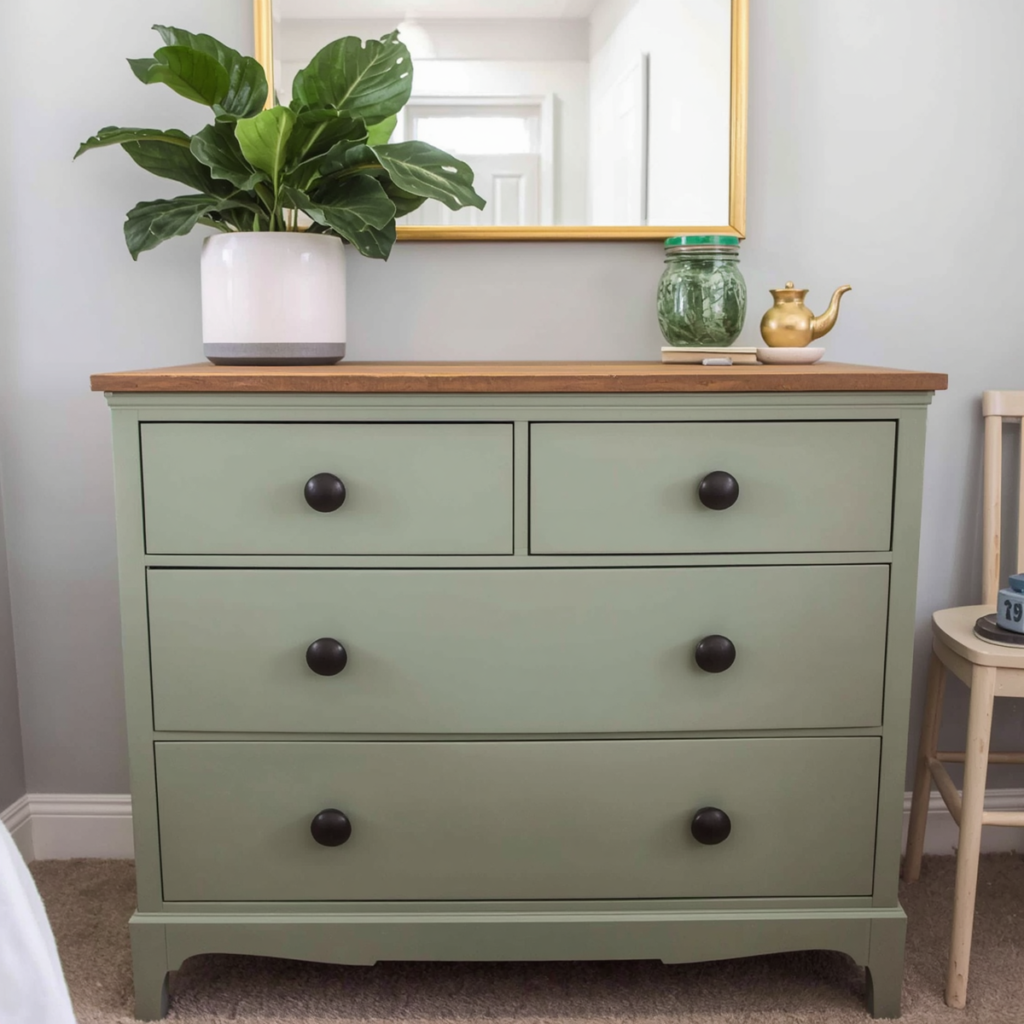
Chalk paint is the most forgiving and most transformative furniture refinishing medium available to a DIY decorator because it adheres to almost any surface without priming or sanding, dries quickly, and produces a soft matte finish that reads as boutique and handcrafted rather than factory-applied. A thrifted or inherited dresser, side table, or bookshelf painted in chalk paint in a contemporary color, warm sage green, dusty blue, deep terracotta, or near-black charcoal, becomes an entirely different piece of furniture. The painted surface can be sealed with furniture wax for a soft sheen or a water-based matte topcoat for a more durable finish.
Replacing the original hardware with new drawer pulls and knobs in matte black, brushed brass, or ceramic completes the transformation and is the detail that most clearly signals a deliberate design decision rather than simply a paint job. New hardware typically costs between two and five dollars per pull from discount hardware retailers and the installation requires only a screwdriver. The combined effect of chalk paint in a considered color and updated hardware on a previously unremarkable piece of furniture is one of the most dramatic transformations achievable in DIY room decor, consistently producing results that visitors assume were purchased rather than made, which is the highest possible endorsement for any project on this list.
Conclusion
The ten projects in this article share a quality that goes beyond their individual visual impact: they are all made rather than bought, and that distinction matters more to the experience of living in a room than most people realize before they have tried it. A room decorated with objects you have made yourself carries a specific kind of warmth and character that even the most beautifully furnished purchased interior cannot replicate, because every handmade object is evidence of a decision, an afternoon of effort, and a choice that reflects something genuine about the person who made it. That authenticity is visible even to people who cannot articulate why a room feels particularly alive and personal.
None of the projects in this article require talent in the conventional sense. They require attention, patience, and a willingness to commit to a creative process that may feel uncertain at the beginning and deeply satisfying by the end. The materials are inexpensive, the tools are minimal, and the results, while never perfectly identical to a professionally manufactured equivalent, are in most cases more interesting precisely because of that imperfection. Begin with the project that addresses the element of your room most in need of attention. Finish it, live with it for a week, and notice how differently you feel about the space. Then begin the next one.